Abstract:
This literature review comprehensively synthesizes the evolving best practices for the full lifecycle of James Webb Space Telescope (JWST) imagery, from initial data retrieval to final public-facing aesthetic processing. The primary research themes cover Data Access and Archival, Scientific Calibration and Processing, and Aesthetic Visualization and Presentation.
The review establishes that the cornerstone of access lies with the NASA MAST archive, where data is primarily distributed in the complex, multi-extension FITS image format. Key studies emphasize the necessity of programmatic access using Python/Astropy and the JWST Pipeline for rigorous image calibration and correction of artifacts. The evolution of processing shows a shift from general-purpose tools to specialized pipelines like Astropy and community-developed solutions like Eureka!, underscoring the increasing complexity of mid-infrared data handling.
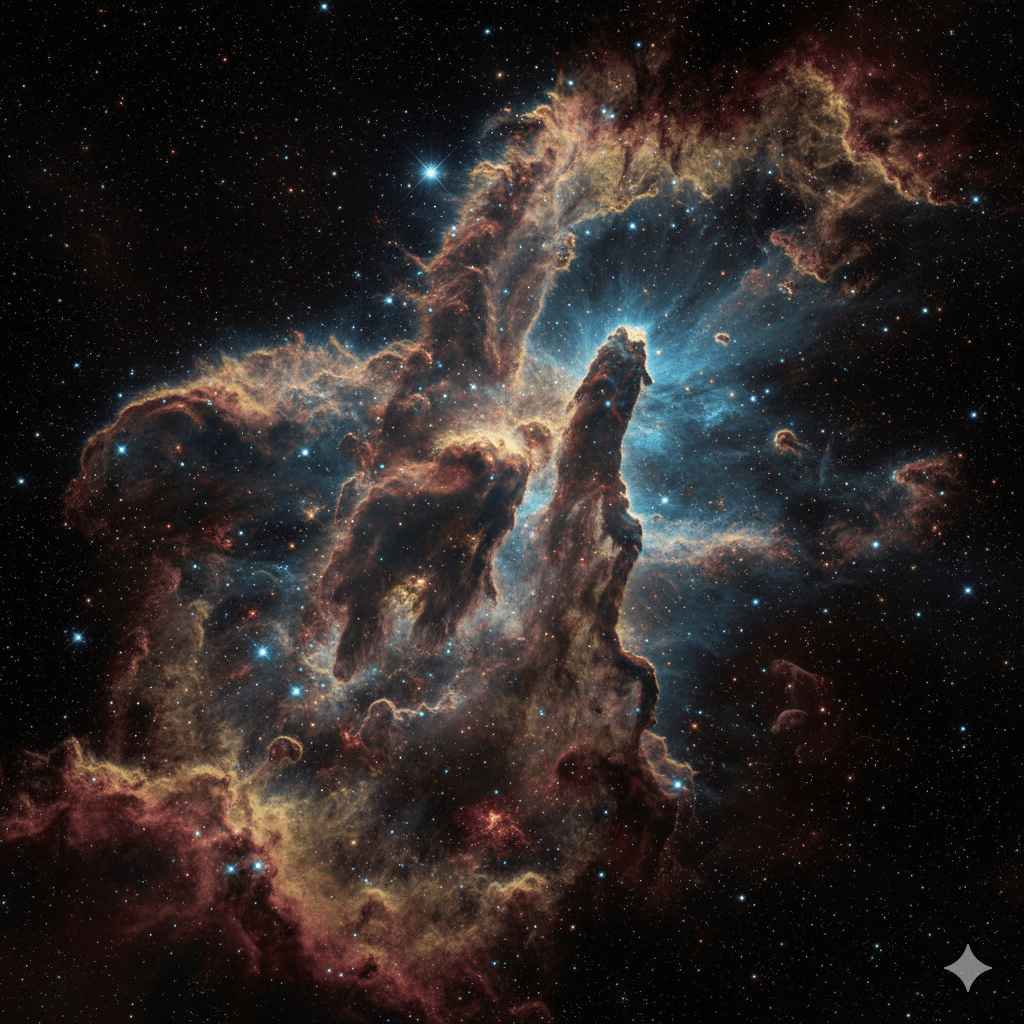
Best practices for visualization fall into two domains: quick-look scientific inspection via tools like SAOImage DS9 and advanced false-color compositing for public outreach. The latter involves a critical, non-trivial step of mapping shorter infrared wavelengths (e.g., NIRCam) to blue/cyan and longer wavelengths (e.g., MIRI) to red/gold, which requires specialized non-linear stretching. This review provides a structured workflow analysis and tool comparison, offering essential guidance for astronomers, data scientists, and astrophotographers seeking to move beyond raw data to scientifically accurate and compelling imagery.
Step-by-Step Guide for Working with JWST Imagery
Phase 1: Accessing and Downloading the Raw Data (The Archive)
This guide translates the specialized information from the literature review into a simple, three-stage workflow for accessing, viewing, and aesthetically editing JWST imagery. The process moves from the highly technical FITS data to a beautiful, public-ready image.
The most important source for all JWST data is the Mikulski Archive for Space Telescopes (MAST).
| Step | Action | Best Practice / Finding from Review |
| 1.1. Navigate to MAST | Go to the official MAST Portal (mast.stsci.edu). This is the primary access point recommended for all first-time users. | All publicly released JWST data is stored here. Programmatic access (APIs) is possible, but the web portal is best for beginners. |
| 1.2. Search for Data | Use the “Advanced Search” to filter by Mission: JWST and the Target Name (e.g., Carina Nebula or its catalogue ID, NGC3324). | Searching by Target Name or a specific Program ID is the most effective way to locate a set of images for one object. |
| 1.3. Select Files | Identify the multiple files for your chosen target. You must download files from different filters (e.g., F090W, F150W, F444W) to create a color image. | You need at least three filters to map to Red, Green, and Blue channels. For each filter, look for the highly processed file, typically ending in _i2d.fits (Level 3 or final calibrated data). |
| 1.4. Download | Select your chosen files and use the Download Manager. Be aware that these files, in the FITS format, can be several gigabytes each. | FITS is the universally used scientific format. You will need to disable pop-up blockers, as the download process often uses a pop-up window. |
| 1.5. Extract the Science Data | After unzipping, navigate through the folders. The actual image data you want is within the FITS file, specifically in the extension with the SCI header. | The FITS format is Multi-Extension (MEF). The first or primary extension is usually header information; the science data resides in a subsequent extension labeled SCI. |
Phase 2: Viewing and Basic Scientific Inspection (The Quick Look)
Since FITS files cannot be opened like a standard JPEG, you need specialized software.
| Step | Action | Best Practice / Finding from Review |
| 2.1. Install a FITS Viewer | Download and install a dedicated FITS viewer like SAOImage DS9 (free and cross-platform). | DS9 is the standard, most-cited tool for astronomers for quick viewing and inspection of FITS files. |
| 2.2. Open the FITS Files | Open each filter’s FITS file in DS9. If it opens in a solid black or white screen, you must adjust the stretch and scale. | The data is in 32-bit floating-point format and must be contrast-stretched to become visible on an 8-bit screen. Use the scale options (e.g., Log, Sqrt, or ZScale) to reveal the detail. |
| 2.3. Inspect Data Quality | Use the view options to switch between the extensions within the file. Specifically, look at the ERR (error) and DQ (Data Quality) extensions. | Best practice for scientific review is to check the Data Quality. The DQ array flags bad pixels, cosmic ray hits, and other artifacts that need to be masked or ignored during processing. |
| 2.4. Align the Images | Since the multiple filter images may not be perfectly aligned, use DS9’s features to match them up, often using the World Coordinate System (WCS) option. | Alignment is a critical prerequisite for creating a composite color image; the pixels of each filter must correspond exactly to the same location in space. |
Phase 3: Aesthetic Editing and False-Color Compositing (The Magazine Image)
This phase turns the multiple gray-scale FITS images into a single, vibrant, and informative color image.
| Step | Action | Best Practice / Finding from Review |
| 3.1. Convert to RGB Layers | Export each of your contrast-stretched FITS images (e.g., three filters) into an easily editable 16-bit or 32-bit image format, such as TIFF. | Recommended FITS Liberator 4 for stretching and creation of TIFF files. Standard image editors like GIMP or Photoshop (cited in the review) require TIFF or similar layered formats; they cannot natively handle FITS data. |
| 3.2. Apply False Color Mapping | In your image editor, assign your three TIFF files to the Red (R), Green (G), and Blue (B) color channels of a new RGB composite image. | This is the most crucial step: Shorter Wavelength Blue/Cyan and Longer Wavelength Red/Gold is the widely accepted, scientifically-driven best practice. |
| 3.3. Non-linear Stretching | Apply aggressive, non-linear stretching (such as logarithmic or hyperbolic stretching) to the individual color channels to pull faint detail out of the background noise. | This maximizes the Dynamic Range (HDR), making the image pop. It is what separates raw JWST data from the finished, magazine-quality public images. |
| 3.4. Final Touches | Fine-tune the color balance, remove noise/artifacts flagged in the DQ image, and sharpen the final composite. | Aesthetic editing is an “art as much as a science.” The goal is a visually compelling image that remains true to the scientific assignment of color. |
The key to creating professional-grade JWST imagery is to embrace the programmatic access and advanced tools, as demonstrated in this video tutorial: Easiest Way to Download JWST Data.
